Minecraft is a great game, no doubt about that. It’s responsible for hours upon hours of fun while allowing millions of players around the world to be as creative as they can.
Although easy to play once one becomes acclimated to the game, being placed in a world with no instruction can be daunting. In addition to not having a native tutorial to teach you how to play the game, monsters come out at night and will surely put a quick damper on the accomplishments you’ve made during the day.
For that reason, I decided to write this guide and show you exactly how to survive the first night in Minecraft.
Minecraft’s Day and Night Cycle
Minecraft’s day lasts 10 minutes, and if you haven’t skipped the night, it lasts 10 minutes, too (more on that later). Making the day/night cycle 20 minutes long.
Early Game Goals
The fact that the day lasts only 10 minutes means that we have only 10 minutes to do at least one of these two things:
- Get a Bed – that allows you to skip the night
- Find shelter – will keep the monsters away
Being your very first day, and assuming you have nothing but an empty Hotbar. And in addition to just surviving your first night on Minecraft, you’ll need to get food and start making some basic tools.
Our goal at the end of the first day is to go to sleep in a bed in a well-lit area. After a few in-game days, we want to have some food, some functional blocks (Crafting Table, Furnace, Campfire, and a Chest), and basic tools and weapons. Let’s start.
Day #1: How to Survive the First Night in Minecraft
Scouting the Area
First things first, let’s look around. In many guides, people start by chopping wood, but I think that finding sheep or a village should be your first priority. Sheep are a great source of food, and upon dying, they will drop one wool block, which is required to make a bed.
If you found a sheep, great. If you haven’t, no worries. Another thing you can and should look for is a Village. A Village is a naturally generated structure that contains houses, beds, and in most cases, enough food for your first 20 days.
Let’s assume you weren’t spawned next to a village and that there are no sheep nearby. Because otherwise, this would be a very short guide.
Chopping Wood
Now, we’re gonna chop down a tree. A whole tree. So you should aim for a tree that is five blocks tall, like an Oak or a Birch tree.
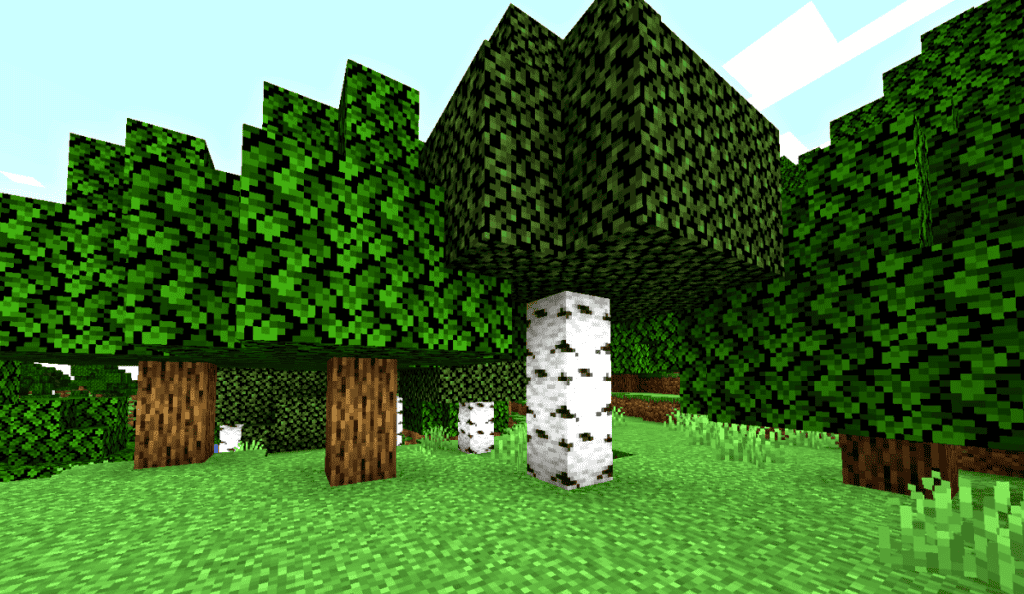
There are two reasons we’ll chop the entire tree. The first is drops. When a tree is fully harvested, the leaves start to decay and drop saplings, sticks, and in some cases, apples. The second reason is that we just don’t run around leaving floating treetops everywhere, aren’t we?
Now, we’re going to turn our logs into planks. To do that, press the E button to open your inventory. Using the mouse, drop your logs into the crafting grid in the top right corner of the window. You can see that each log turns into four planks, which is a great deal if you ask me.
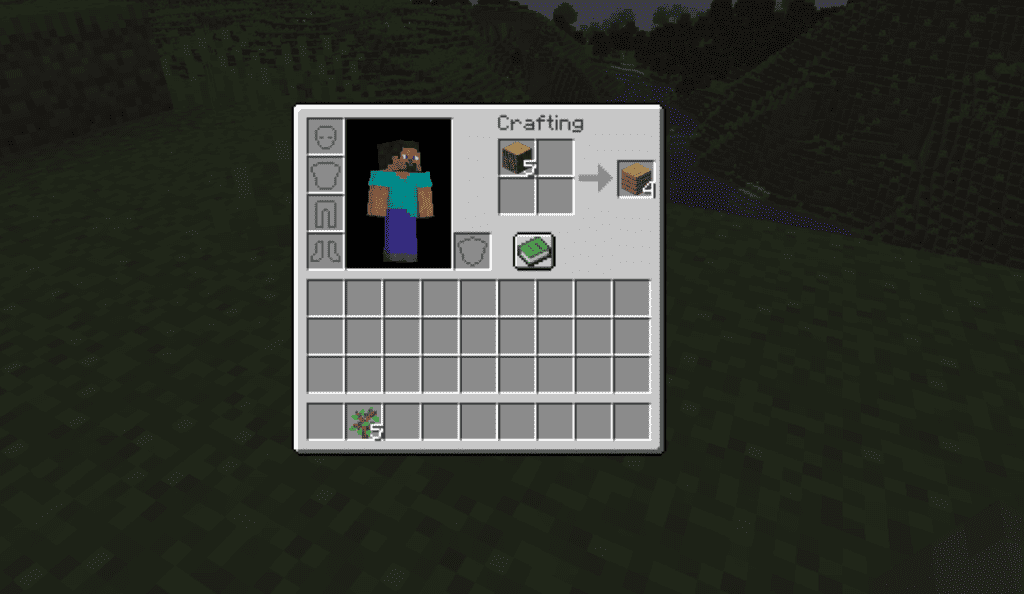
Go ahead and click on the planks icon until there are no more logs left, or hold the Shift button and left-click on the planks to turn all the logs in one go. You should now have around 20 planks of wood, which is, by all means, a great start.
Putting the ‘Craft’ in Minecraft
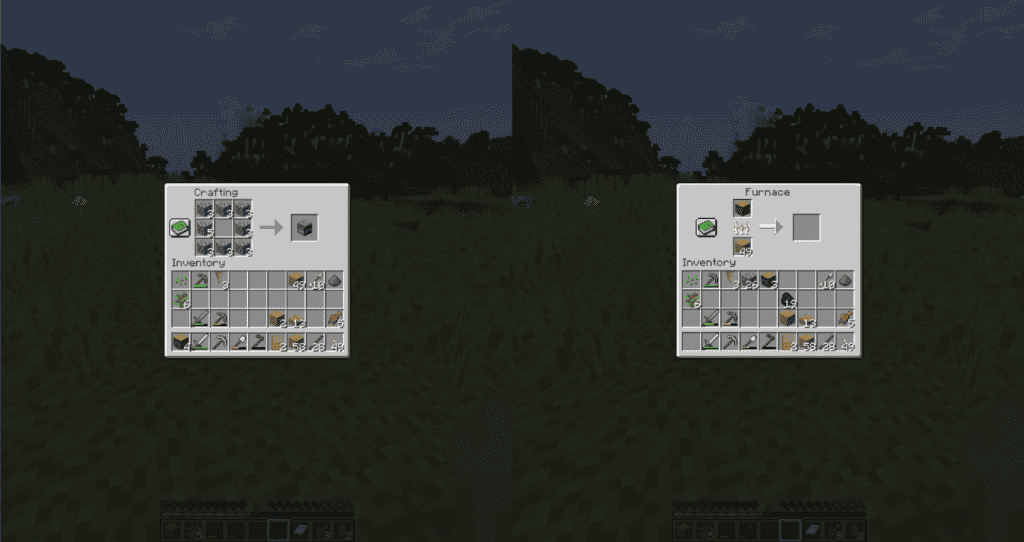
Make your Crafting Table
Take four wooden planks and put each on a different square on the crafting grid until you get something like that:
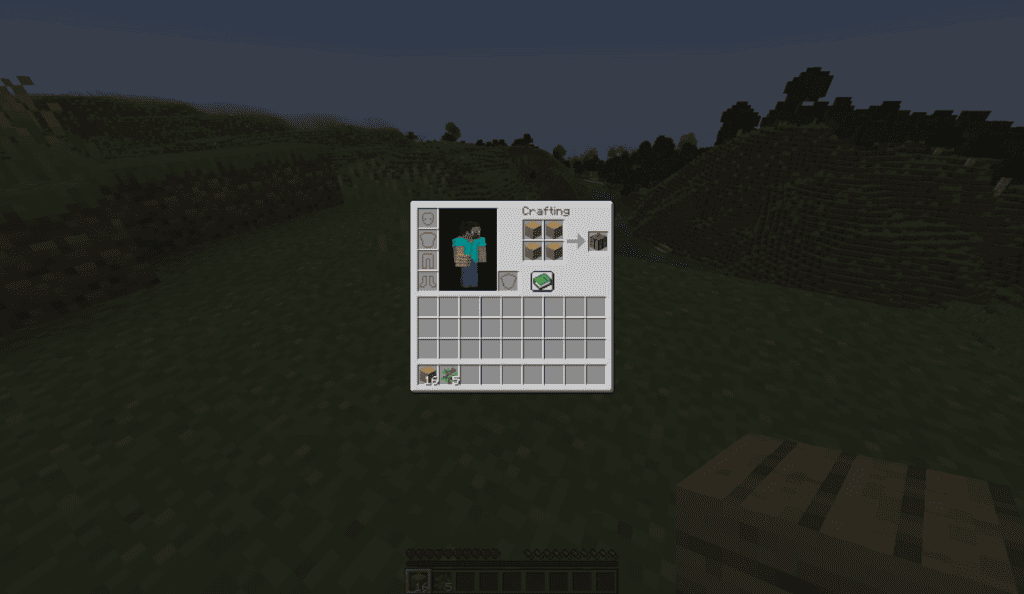
Meet your new Crafting Ttable.
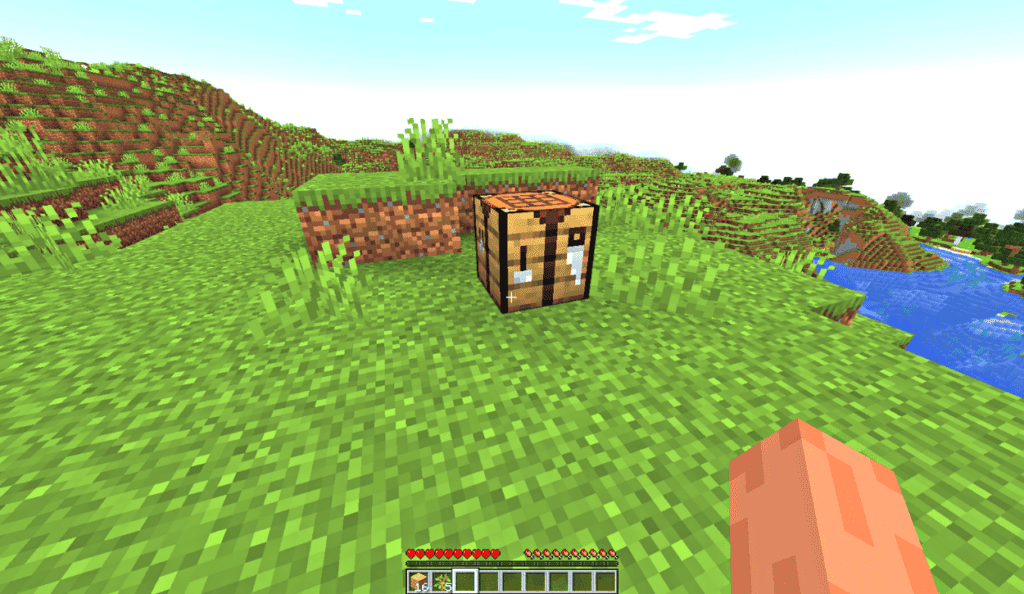
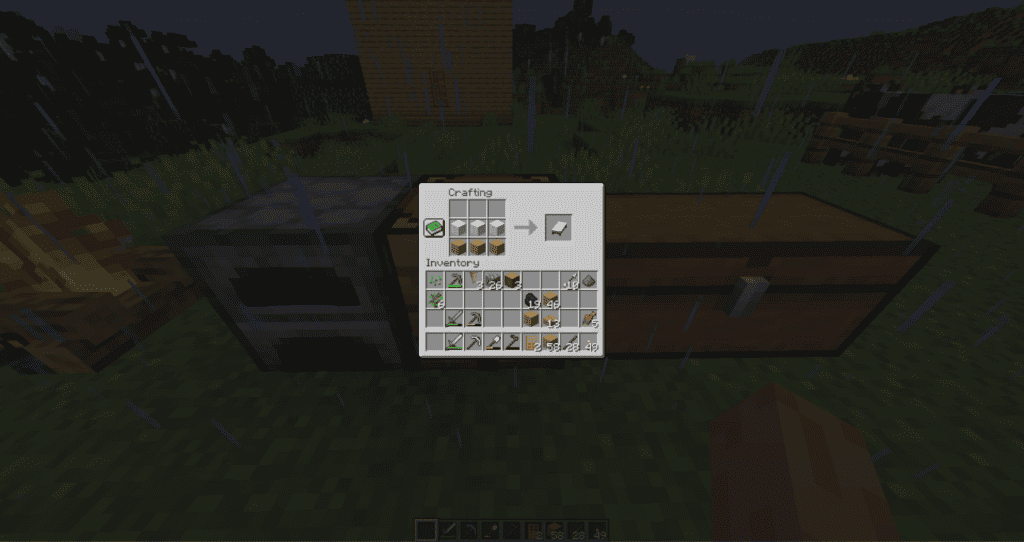
Put your Crafting Table on the hotbar, and once you shut the inventory window, use your mouse scroll button or your number keys to reach it. Now place it on the grass by left-clicking.
The Crafting Grid
Instead of having a simple 2×2 crafting grid, you now have a 3×3 crafting grid and are able to craft tools, storage blocks, a bed, food, and everything else in the game, as long as you have the ingredients.
Assuming you didn’t get any sticks from the tree you chopped down (and you definitely should have). Take four planks and put two of them on top of the other two in the crafting grid of the Crafting Table. You now have eight sticks essential to craft your first tools.
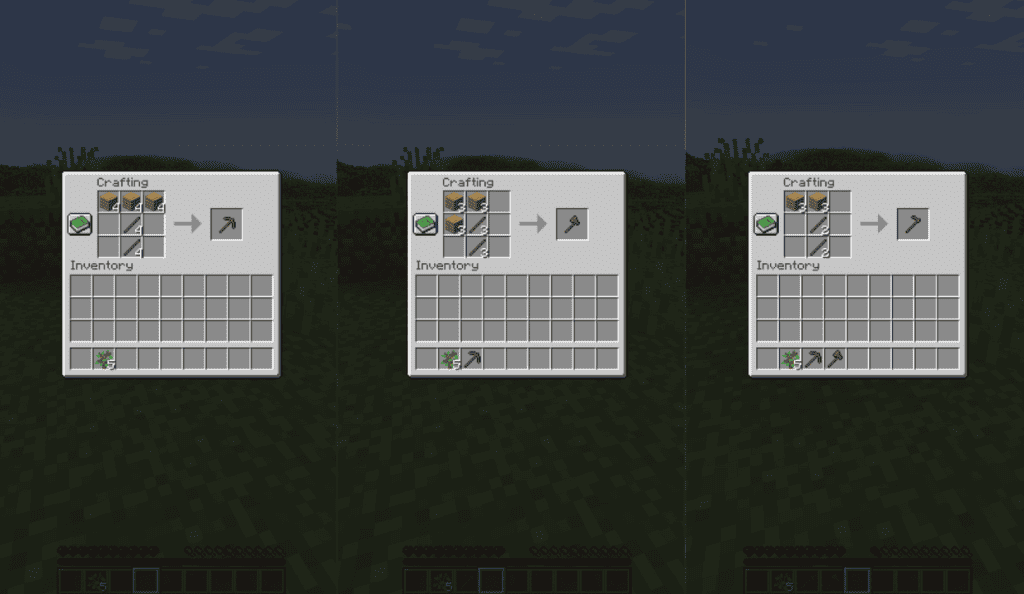
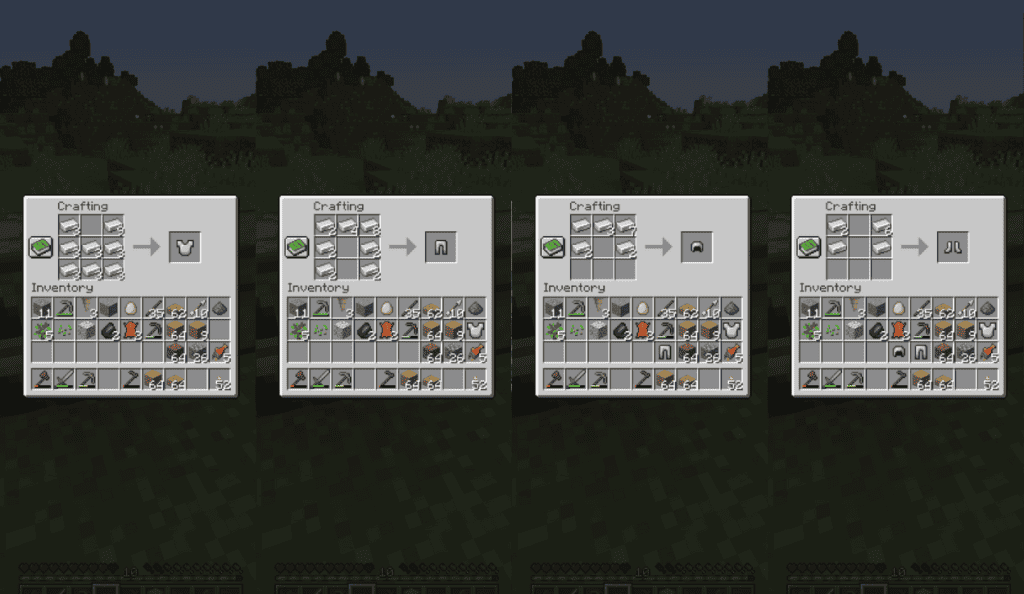
Craft Basic Tools
Now, follow the below recipes to craft some basic tools: Pickaxe, Axe, and Hoe. A Pickaxe will help us mine stone, and an Axe will help us break wood and wooden-based blocks (such as the crafting table).
If you played Minecraft once or twice, you might be surprised by my suggestion to craft a Hoe.
The reason is that wheat seeds are very common (you have 12.5% of getting wheat seeds from breaking grass), and starting a wheat farm next to a body of water is always a good idea. You can craft three pieces of wheat into bread, which is an amazing food source at the beginning of your survival world, and use wheat for breeding cows and sheep.
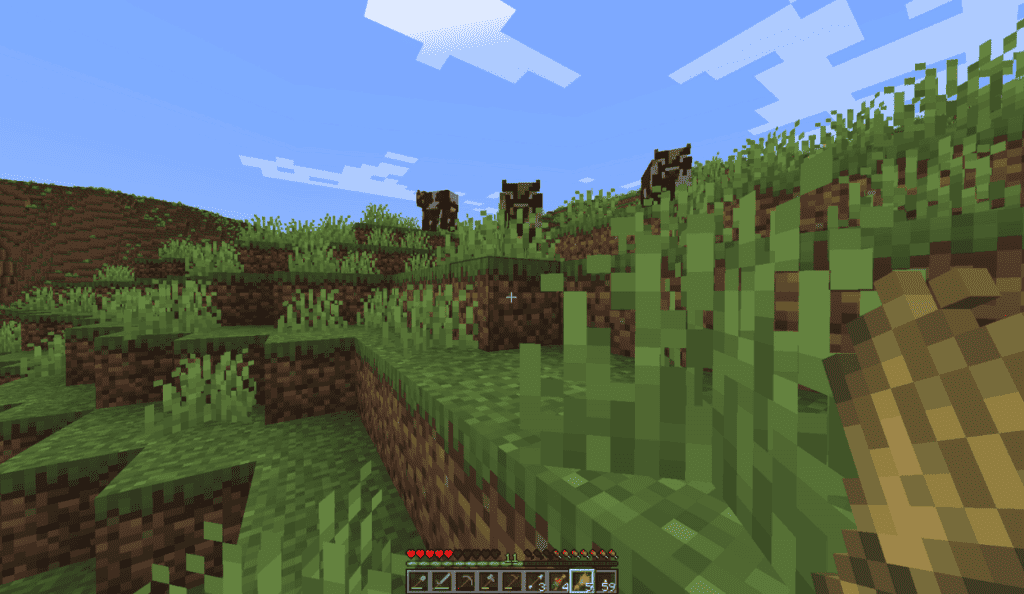
Find Sheep
If you haven’t found sheep by that point, it’s time to start looking for them. They are very common and spawn naturally everywhere with grass, so they really shouldn’t be too hard to find.
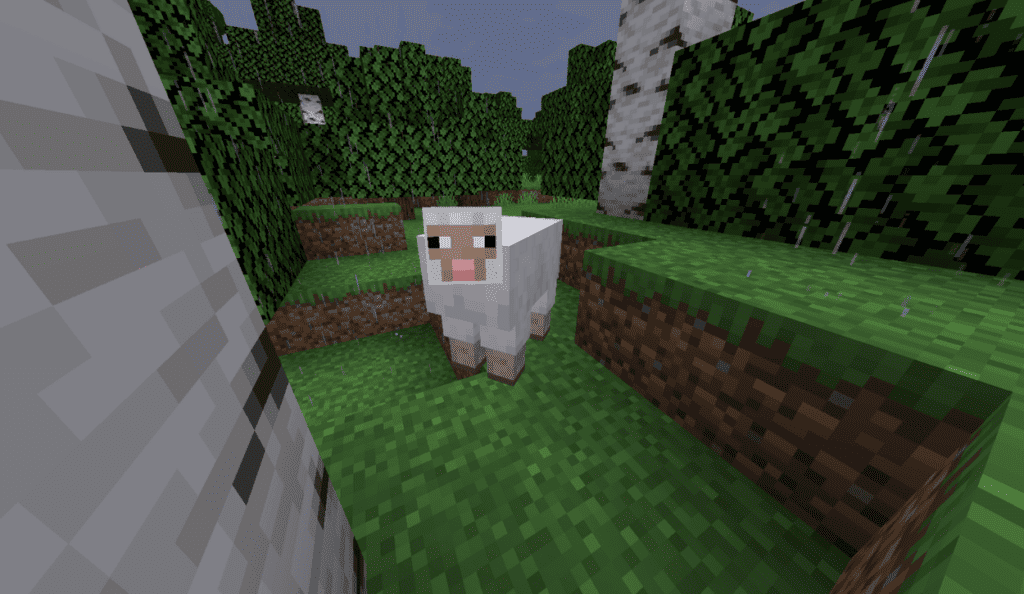
Kill at least three sheep of the same color to have enough wool for a bed.
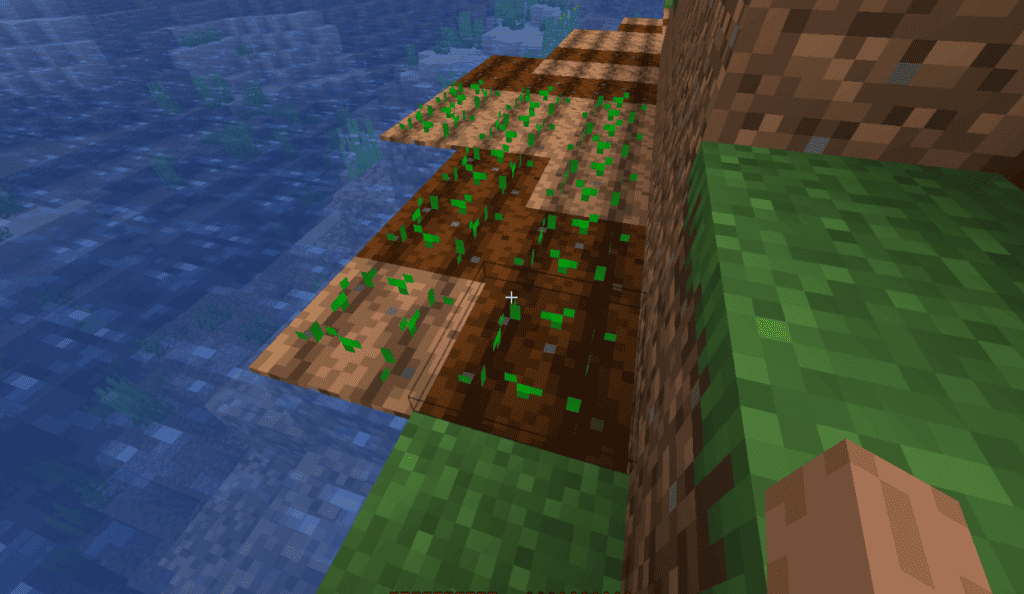
Start a Basic Wheat Farm
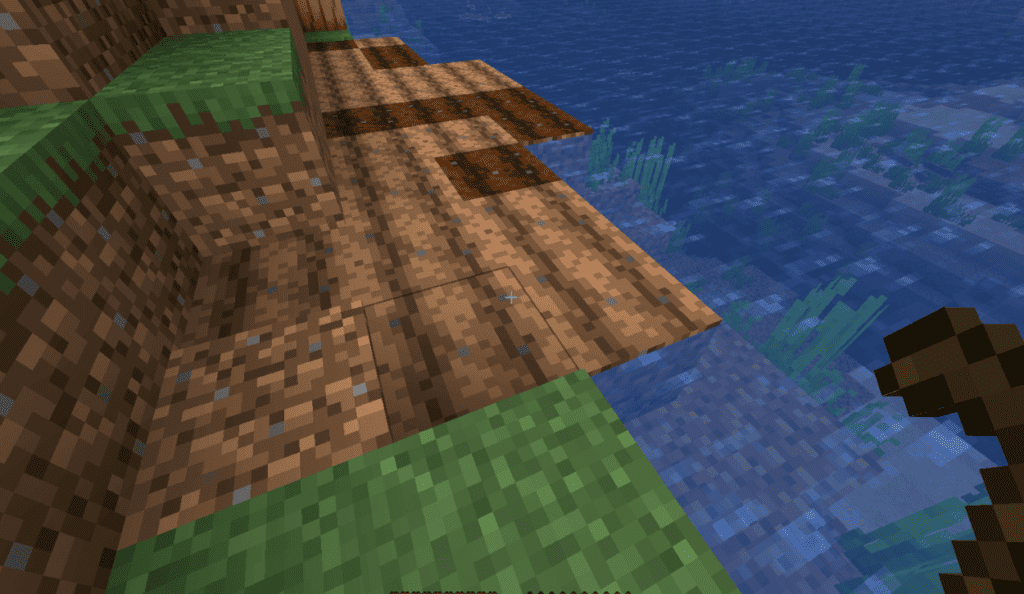
Break some grass blocks around you. Our goal is to get about ten wheat seeds. Once you got them, go to the nearest source of water, whether it’s a small lake, shore, or riverside, doesn’t really matter.
As long as a block is up to 4 blocks away from a source of water, you can cultivate it with a hoe and plant seeds. To do that, right-click on a dirt or a grass block that’s within a 4 block away from the water.
Then, right click on the cultivated dirt blocks with the seeds in your main hand.
Now, we wait.
While the wheat is growing, we’ll go on to find stones.
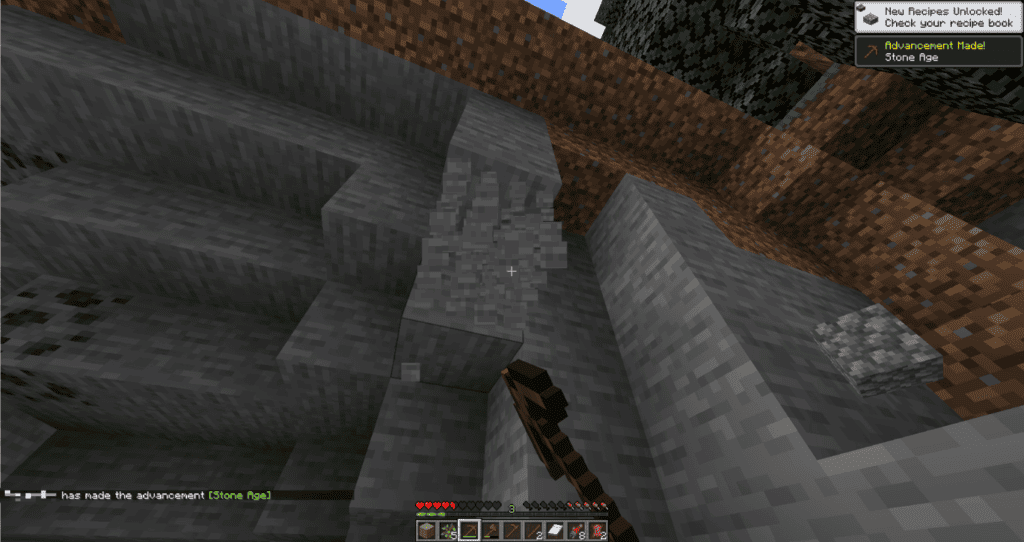
Search for Stone
Look out for exposed stone, either on the surface or in caves. Dig out about 20 blocks using your wooden pickaxe. If you see some coal lying around, mine it out, too.
Upgrading the Pickaxe
using three of the stone blocks you mined, build a stone pickaxe, which is faster and more durable than a wooden pickaxe.
Finding Food
By that point, you should’ve already found sheep (have at least 3 blocks of wool of the same color). Kill a couple of sheep, cows, or pigs (but make sure you leave at least two of each kind to breed later on).
Meat is a great source of food. In fact, steak is almost the best food source in Minecraft.
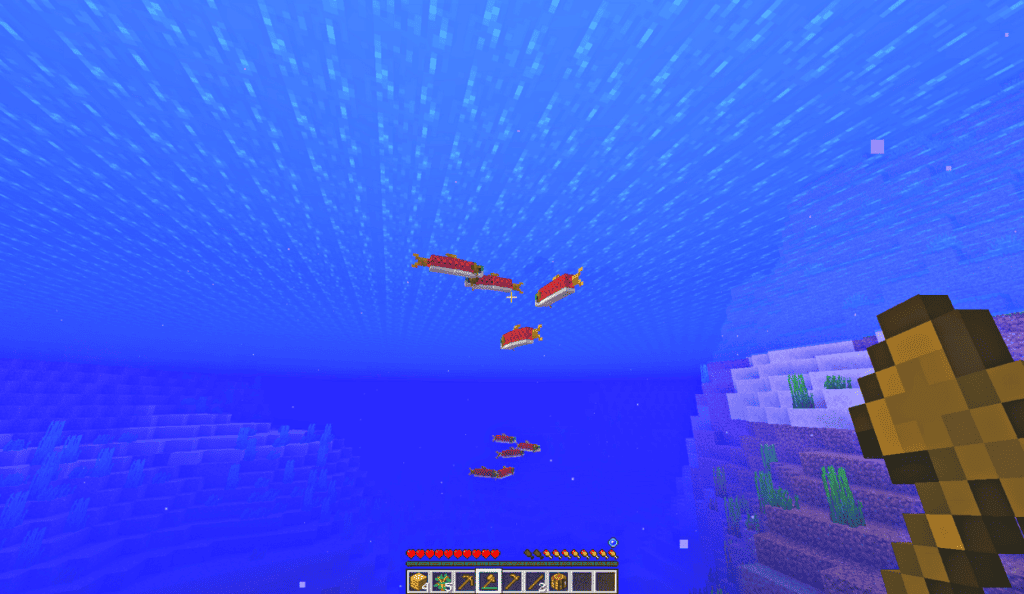
If all you found were the three sheep from earlier, go to any body of water and hit fish with an axe. A wooden axe should easily one-shot a fish, and they keep spawning all the time, so it’s an endless source of good food. Just pay attention to your air meter so you don’t start drowning.
Cooking Food
If you have coal, craft a campfire. It allows you to cook different types of meat and fish in groups of 4 without consuming coal. Its recipe is quite cheap, too, making it the perfect cooker for your first couple of days.
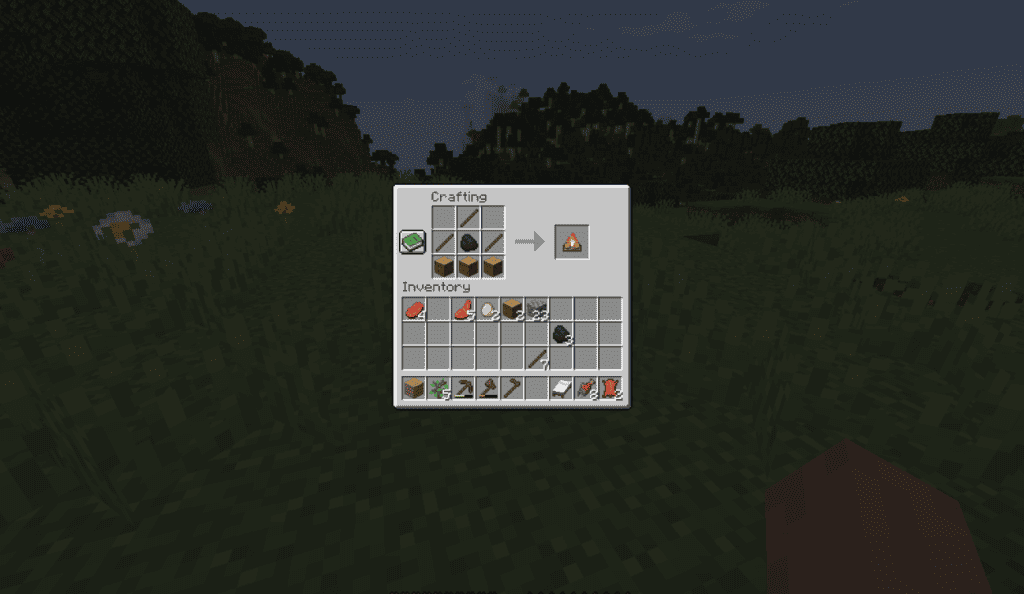
If you haven’t found coal, don’t worry. You can turn a wooden log into charcoal by cooking it in a furnace.
Put four pieces of raw meat you have on the campfire: raw beef, raw mutton, pork chops, or raw fish.

by the time it’s ready, you should be able to go to sleep.
We Survived the Day to Skip the Night
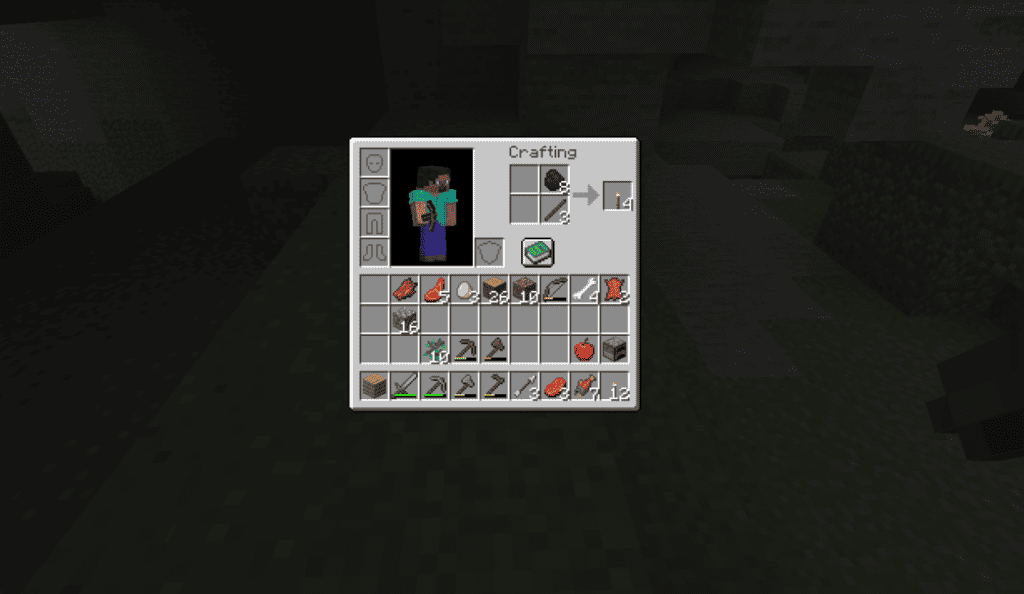
Craft a bed by using three blocks of wool of the same color and three wooden blocks.
Now, place the bed on the ground and right-click on it to go to sleep. If you right-click on a bed when it’s still daytime, you will set your spawn point. You can only sleep during the night or during thunderstorms, and sleeping allows you to skip them.
This is how to survive the first night in Minecraft! Now, we’ll keep gathering resources and start building early farms.
Day #2: Thriving
Even though survival is the biggest part of Minecraft, I feel that the real fun in Minecraft comes from thriving.
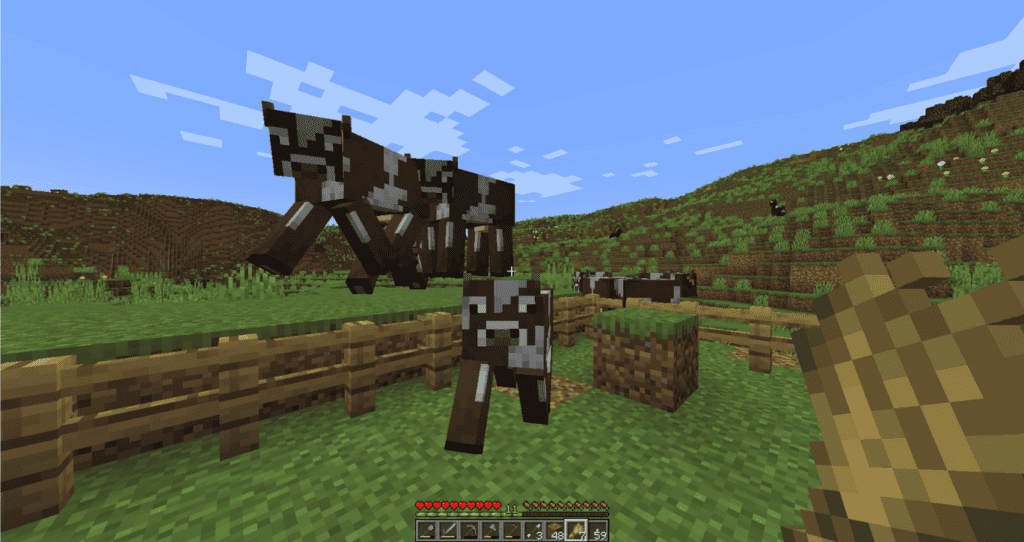
Start a Beef Farm
I found some cows nearby, so I decided to breed them to have a steady supply of steak. I’m going to surround an area with a fence and lure them in with wheat.
When you build this area, make sure the cows have an easy way of going inside because they can’t jump over a fence. Additionally, put any block inside so you can jump out easily instead of having to craft a fence gate.

Go and collect the cows. I like to start from the farthest cows, then bring them next to the closer ones, and then to their new home.
And… They’re in.
Once they’re in, feed them so they start breeding. Once they almost overflow the area, we’ll start killing them for raw beef, which we’ll cook into steak.
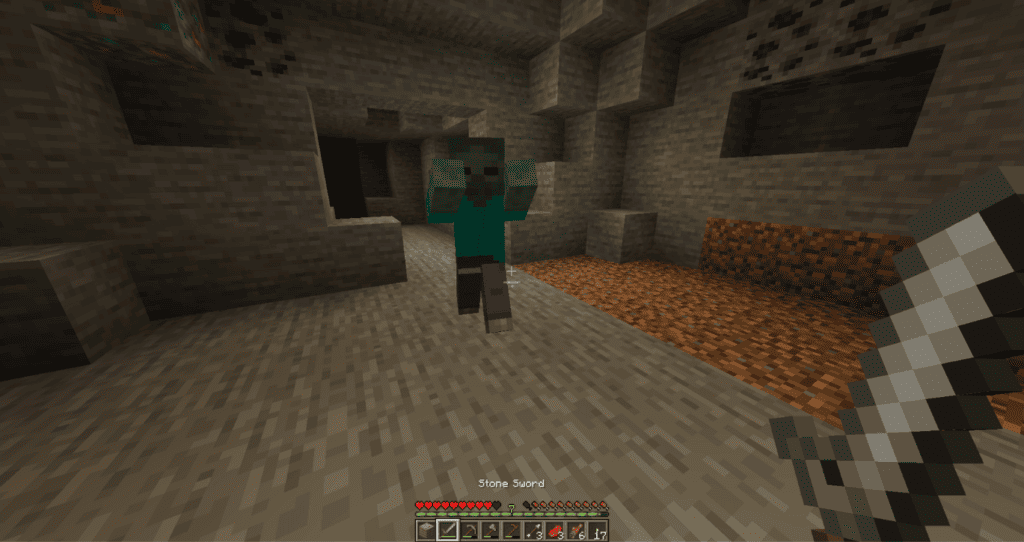
Caving
We’re still looking for a couple of supplies. We need more coal, so we’ll be able to cook larger amounts of food without the risk of it despawning. We also need iron to build better tools and armor. This will play a big role in our survival. Caving will also mean we’ll meet some hostile mobs (possibly for the first time), so be prepared. It also means we might get some bones from killing skeletons, so make sure you pick them up.
Before you go mining, make some extra stone pickaxes because they break pretty fast. Make some torches with the coal you have left. Make more sticks if you need to, and put them in the crafting grid like this:
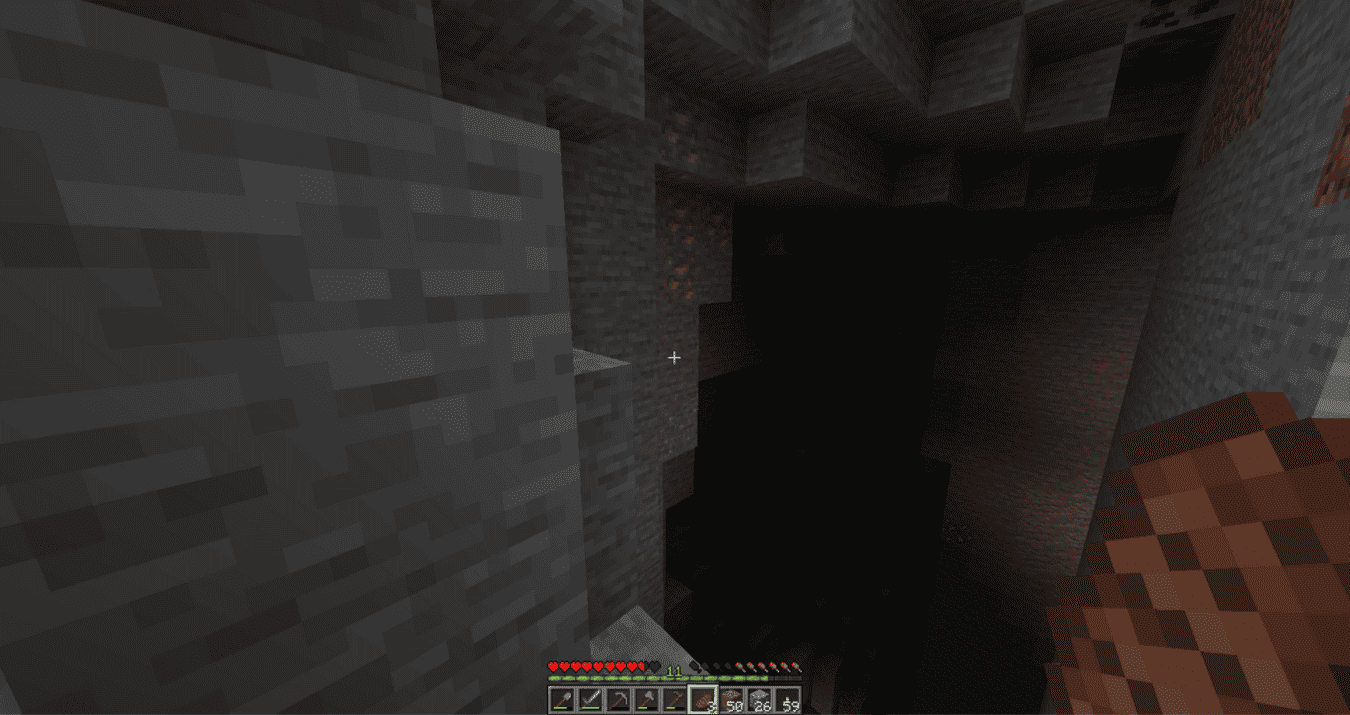
When you enter a cave, especially when you are just starting out, feel free to spam torches everywhere. It helps with visibility and to make sure less hostile mobs can spawn. Placing torches will also help you know where you’ve already been and find the way back to the ground.
We are on the lookout for iron, coal, and skeletons. Skeletons attack from far away using a bow and arrow, and you still don’t have armor, so be very careful when you approach one. Other hostile mobs you might see are
- Zombies – As well as its variants, the baby zombie and the zombie villager.
- Skeletons – Attack from far away, but they are pretty simple to beat once you’re up close.
- Creepers – They explode when they’re close to you. This explosion will instantly kill you when you are armorless. To kill a creeper, you need to hit it and then retreat several times.
Start looking around. Once you find anything, just mine it with your pickaxe. Return to the base as soon as you run out of food, or you got about 30 raw irons. We’ll be back when we gear up.
A Full Set of Iron Armor
Iron armor is the most basic type of armor. It will play a huge role in surviving in Minecraft.
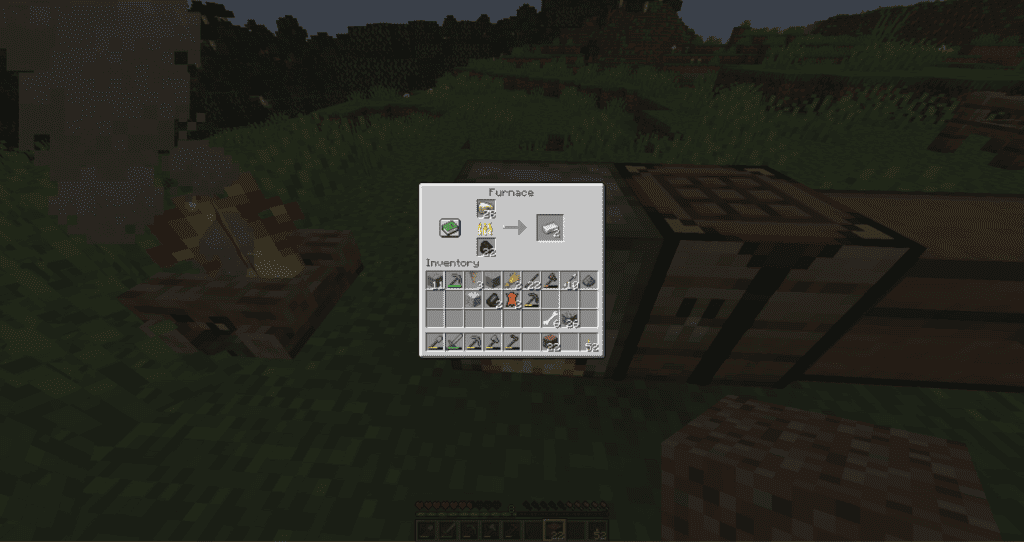
Smelt the Raw Iron
Now that you have roughly 30 raw iron ingots, it’s time to smelt them in a furnace. If you were able to get 32, even better. That’s because every piece of coal can smelt eight items, and it is consumed even if it smelted only one.
Put the raw iron in the furnace, and make sure you put at least four pieces of coal in the bottom of the furnace. While it’s smelting, you can go to check on your wheat farm and feed the cows or hunt some fish.
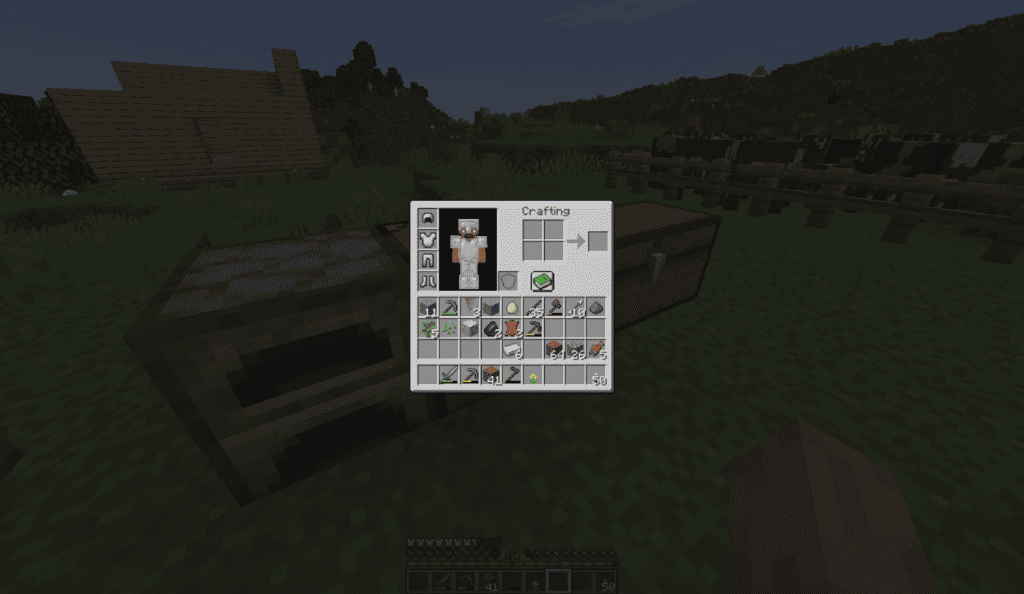
Crafting Iron Armor
To make a full set of iron armor, we’ll need 24 iron ingots. Put them in the crafting table like this:
To equip it, open your inventory by pressing on the E button and shift-clicking on the armor pieces, or just drag them to the appropriate place.
Wheat, Cows, and Everything in Between
Take the bones you collected from the Skeletons you fought in the caves and turn them into bonemeal. When used on crops, bonemeal instantly grows them, allowing you to harvest them a lot faster.
Take the wheat and feed it to the cows. Every two cows you feed will breed and get a baby cow, which will grow in about 5-10 minutes. You repeat this process until you have enough cows to provide you with as many steaks as you need.
Building Your Starter House
A starter house is your first house. It should be practical and contain only the basics, such as a bed, some storage, a crafting table, and a furnace. Of course, you can add anything else if you like, but you’ll move out, eventually, to your main base, which you’ll build to serve through your entire gameplay.
This house is as simple and economical as it can be. You can, of course, make it prettier, but I don’t really see the point in that at this stage in the game.
Ingredients
I’m using exclusively Oak wood to build the starter house for two reasons:
- We’re surrounded by Oak and Birch trees, so there’s an infinite supply of them.
- I absolutely hate Birch wood.
The Build
The build itself is very simple. I build the floors of Oak slabs and the walls and floor frame of Oak planks. I’m making the roof of Oak slabs, too, but in a way that prevents hostile mob spawning (we’ll get to it soon).
Clearing Space
Start by making room for your build. It’s not a huge house, but it requires some flat ground. Use your shovel to remove some dirt blocks.
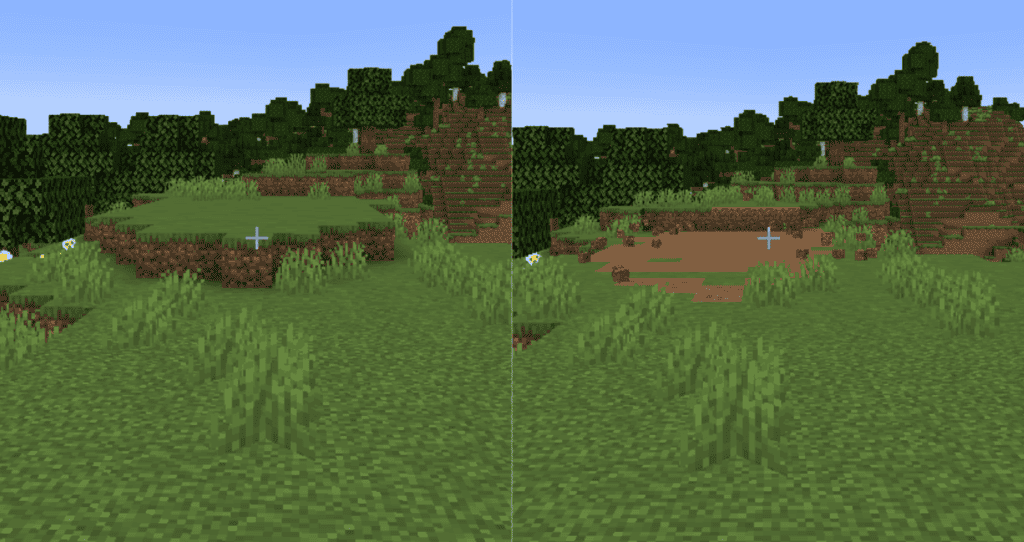
Build the Frame
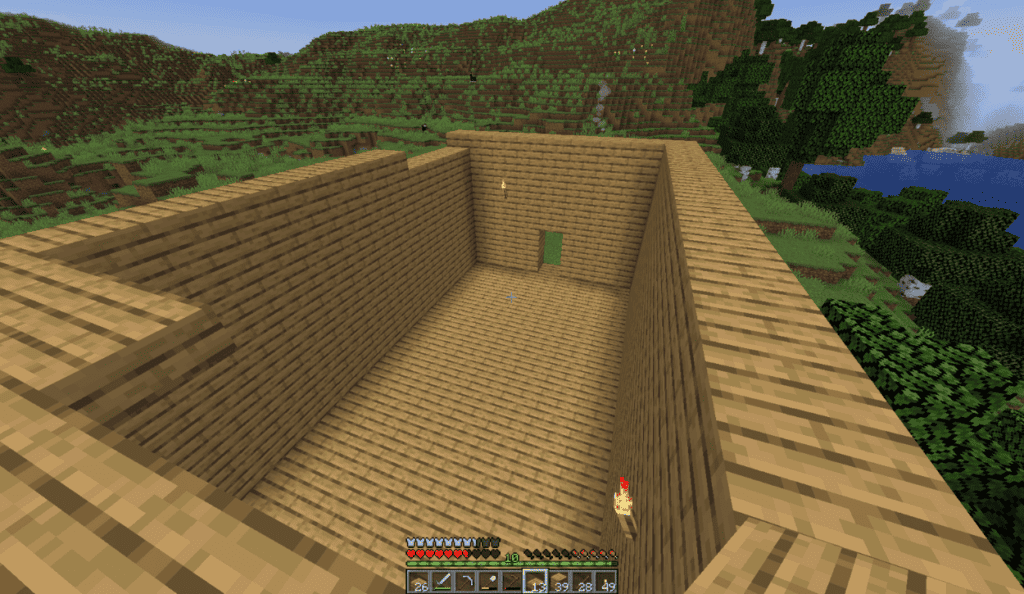
Now, we build the frame. You can make it as big as you want, but remember that it should be practical and not meant to last too long. I recommend you use an odd number of blocks on the side where you want to place the door so it can be in the middle, or make it even if you want double doors.
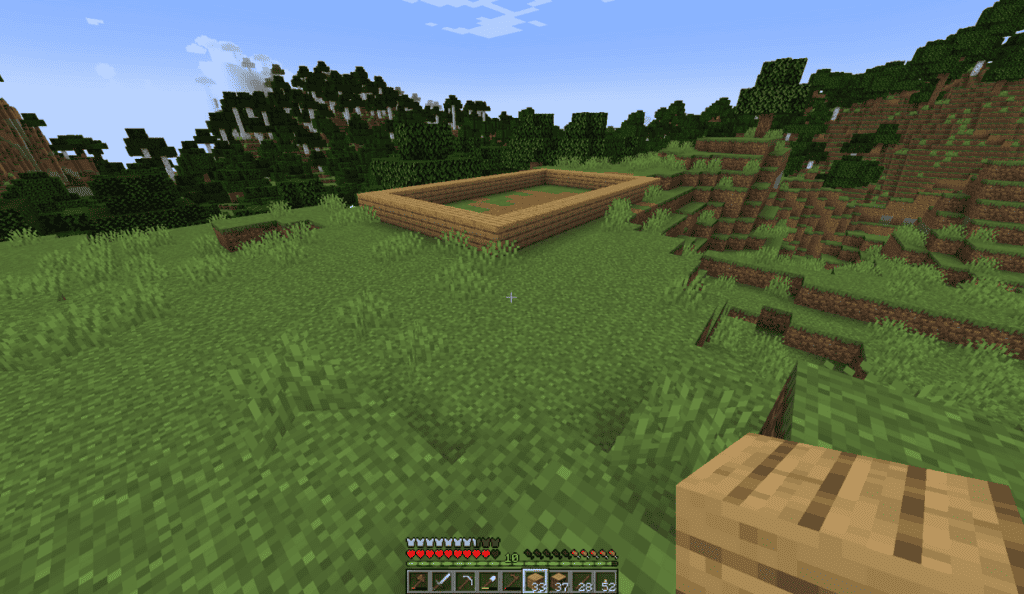
Build the Floor and Walls
Use slabs to make the floor, they cost half than planks, and they’re all you really need.

Now, the wall. Make them about five blocks high. You don’t really need more than that. First, build a 3-wall high “tower”. Hold down ‘shift’ to make sure you don’t fall, and while looking down, place the blocks. After you’re done, repeat it with another 2-block high row.
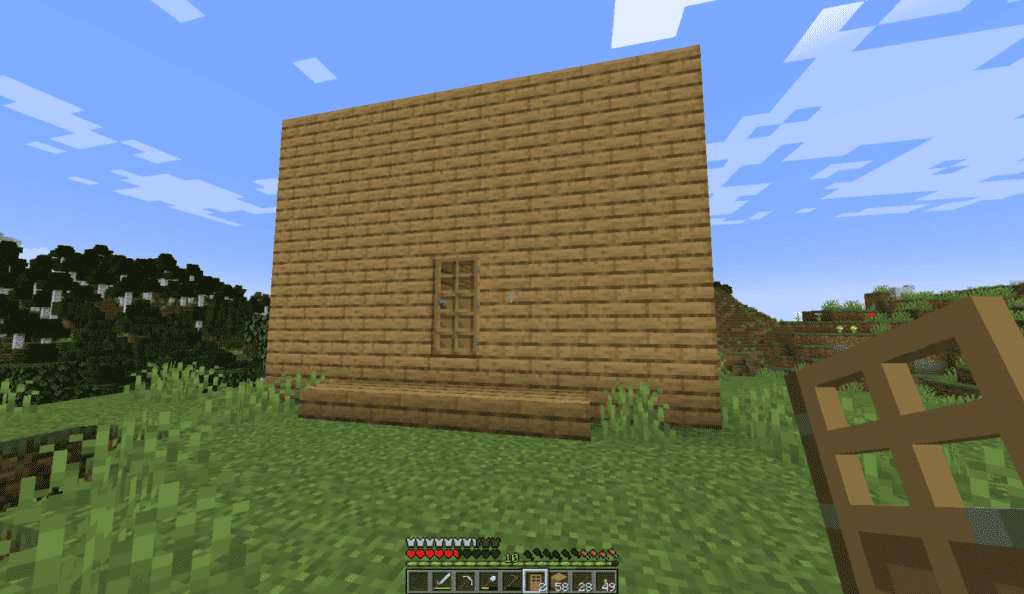
The Roof
Once you’re done with the walls, place a slab on top of them, making the walls five and a half blocks high, and start filling the roof with more slabs. Before completing the roof, place some torches inside the house to prevent it from being absolutely dark.
Since mobs can’t spawn on bottom slabs, this will prevent mobs from spawning on top of your roof.
Some Finishing Touches
Now you can get down, make a door, and put some slabs on the grass so you don’t need to jump to get to the house. Move everything inside (except for the campfire), place down the door, and you’re done.
After you gather some resources and access to rarer and harder-to-get blocks, you can and should start moving out of your starter house to your permanent base. There, you’ll be able to build a proper Minecraft house.
Finishing Thoughts
Now you know everything you have to do to survive the first night in Minecraft. We also went through some basic farms, caving, tools, and everything else you need for the beginning of your game.
Next, you’ll want to explore the world, upgrade your gear, beat the ender dragon, and eventually experience many things you can do in Minecraft because the possibilities are endless. For more inspiration, I follow some Minecraft survival Youtubers for ideas of what to do.