Zombie Villagers are some of my favorite hostile mobs. They are as tough as a zombie, which is not too hard to beat, even very early game. Their sound is very cool and very distinguishable from other types of Zombies, and most importantly – they make the best villagers. So get ready because I’m about to show you exactly how to cure a zombie villager.
Where to Find Zombie Villagers?
Zombie villagers spawn naturally in several places and circumstances in the overworld. Regular villagers can also get zombified and turn into zombie villagers.
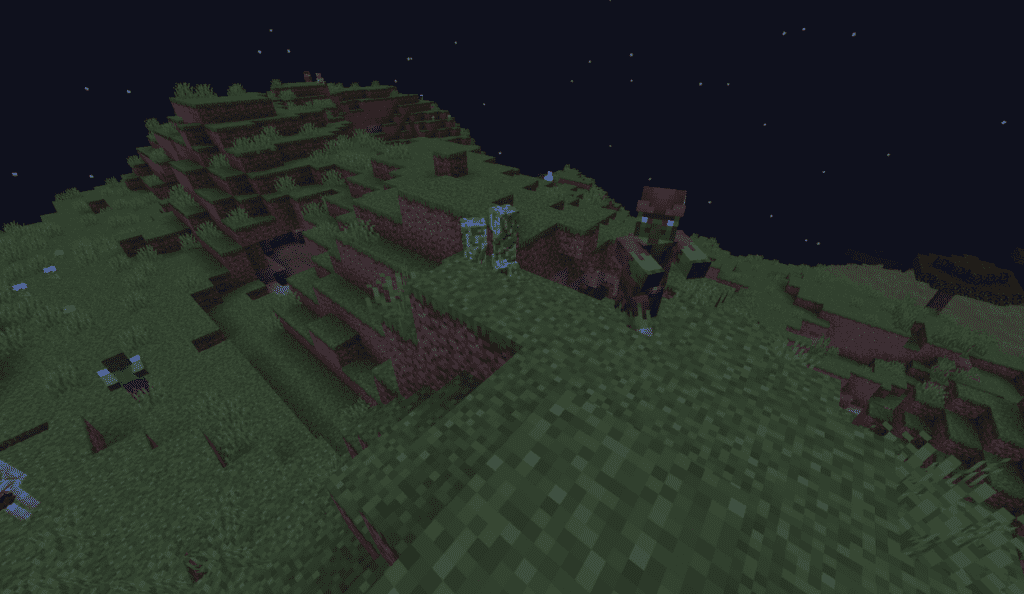
Everywhere at Light Level: 0
Regular zombies spawn where the light level is zero in groups of up to 4. There is, however, a 5% chance of a single zombie villager (in Java edition) or a group of zombie villagers (in Bedrock edition) spawning instead.
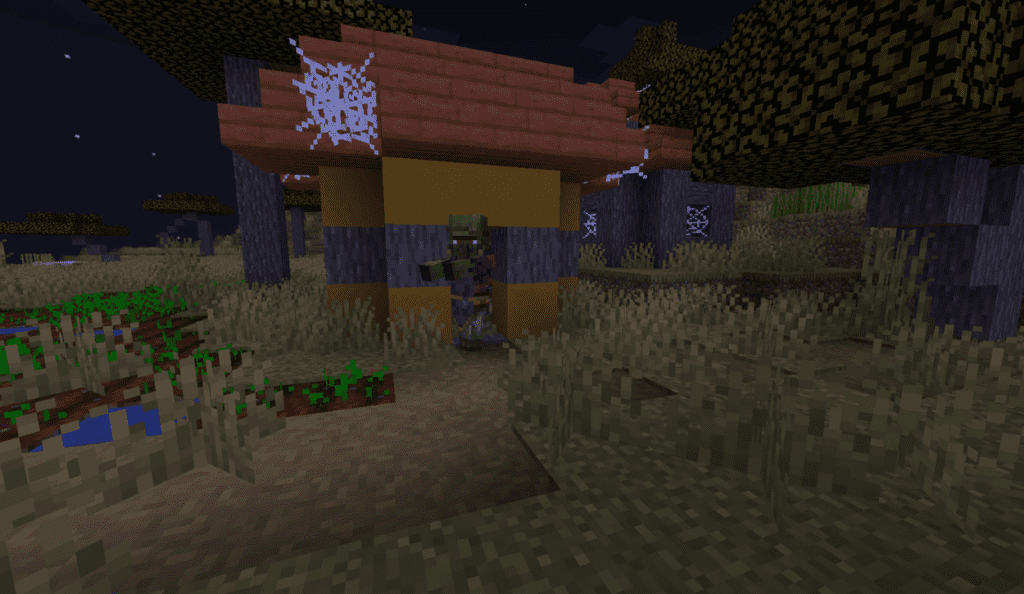
In Abandoned Villages (Zombie Villages)
In Java edition, 2% of the villages spawn as Abandoned Villages (30% on Bedrock). An Abandoned Village is structurally very similar to a regular village, except that the houses are worn down (some of the blocks have veins on them, and some are replaced with cobwebs).
Abandoned Villages are occupied by Zombies and Zombie Villagers instead of regular Villagers.
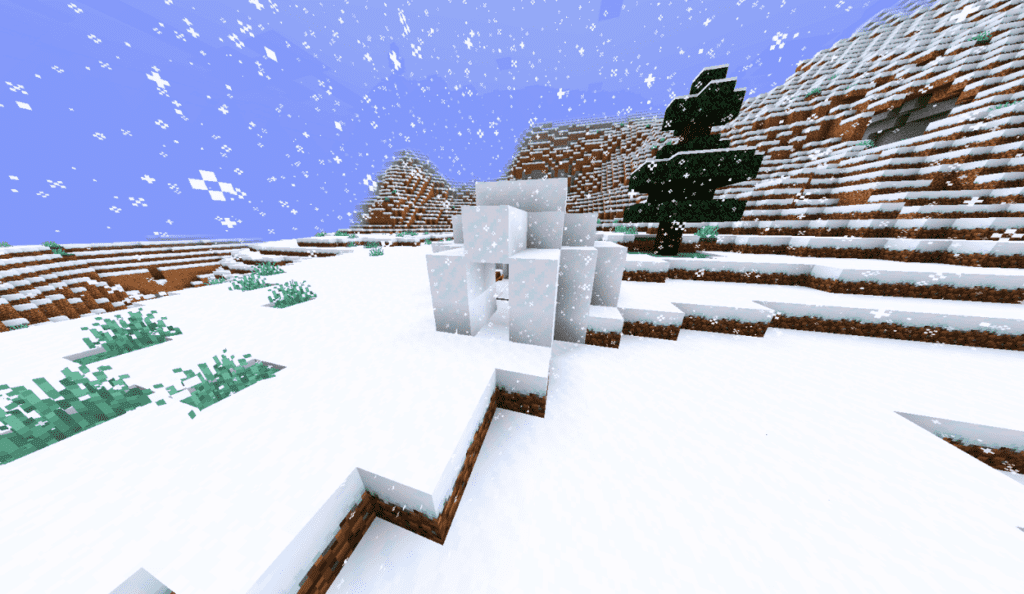
In Igloos with Basements
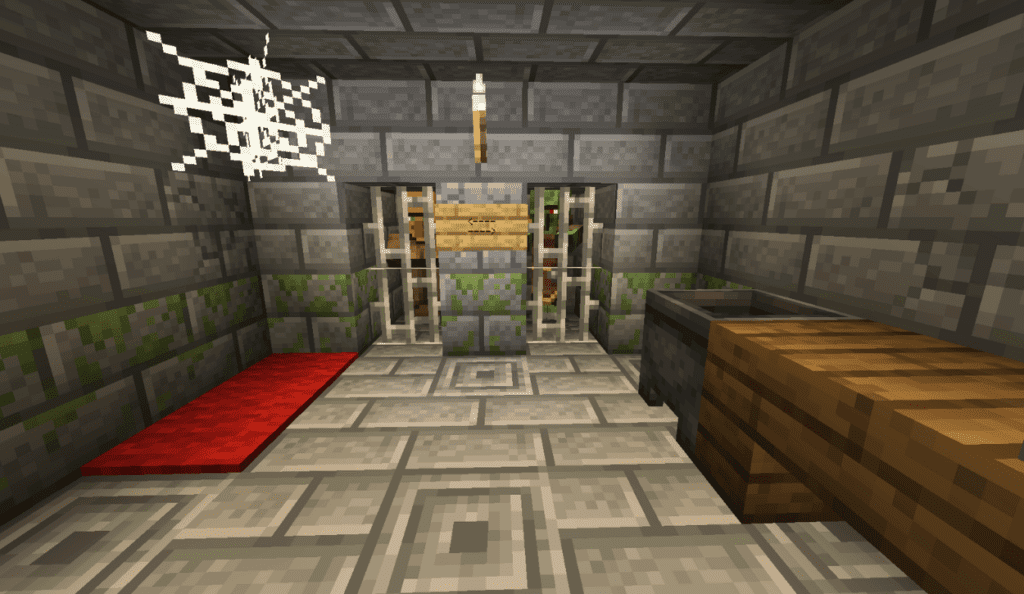
Igloos are structures found in the Snowy Taiga, Snowy Plains, and the Snowy Slopes biomes. Half of the igloos spawn with a basement that can be found below an oak trapdoor hidden under the carpet.
In the basement, you’ll find a villager, a zombie villager, and the things you need to cure a zombie villager and turn it into a regular villager.
By Zombifying Regular Villagers
This might not be the nicest thing you can do to your Villagers, but this is the best way to improve their trades.
Every time a Zombie Kills a Villager, there’s a chance of the Villager getting zombified instead of dying. The chance of it happening depends on the difficulty the game is set to. In easy difficulty, the is a 0% chance of the Villager becoming a Zombie. In Nornal difficulty, the chances are 50-50. In hard difficulty, every time a Zombie kills a Villager, it will get zombified. If you play on easy, it may be worth changing the difficulty to hard while you build your trading hall.
Why Should You Cure Zombie Villagers?
After you cure a zombie villager, he will lower his prices significantly. This allows you to earn a lot more Emeralds and spend a lot less as well.
Among the trades you can get from healed zombie villagers are:
- Armorer: 10 Coal for an Emerald, 1 Emerald for enchanted Diamond Leggings, Boots, Armor, or a Helmet, and 1 Iron Ingot for an Emerald.
- Butcher: 1 Raw Muttons, Raw Beef or Raw Porkchop for an Emerald, and 1 Berry for an Emerald.
- Cartographer: 4 Glass Panes for an Emerald, 1 Emerald and a Compass for a Woodland Explorer or an Ocean Explorer Map.
- Cleric: 24 Rotten Flesh for an Emerald, 1 Gold Ingot for an Emerald, 32 Glass Bottles for an Emerald, 1 Emerald for an Ender Pearl or 10 Nether Warts for an Emerald.
- Farmer: 1 Watermelon / Pumpkin for an Emerald, 1 Emerald for 3 Golden Carrots, 1 Emerald for 3 Glistering Melon Slices, 15 Wheat for an Emerald, and 10 Beets for an Emerald.
- Fisherman: 5 Coal for an Emerald and 1 Emerald for an Enchanted Fishing Rod.
- Fletcher: 26 Sticks for an Emerald, 6 Strings for an Emerald, and 1 Emerald for an Enchanted Bow or Crossbow.
- Leatherworker: 1 Leather for an Emerald, 1 Scute for an Emerald, and 1 Saddle for an Emerald.
- Librarian: 1 Emerald and a Book for an Enchanted Book (Including Mending, Protection IV, Quick Charge III, Respiration III, and more)., 1 Ink Sak for an Emerald, 1 Emerald for a Clock or a Compass, and 15 Emeralds for a Name Tag.
- Mason: 4 Clay Balls for an Emerald, 15 Stones for an Emerald, 11 Granite for an Emerald, and 11 Diorite for an Emerald.
- Shepherd: 13 Wool Blocks (of different colors) for an Emerald, an Emerald for Sheers, a Bed, a Banner (of different colors), or three paintings.
- Toolsmith: 1 Emerald for an Enchanted Hoe, Axe, Shovel or a Pickaxe and 1 Iron Ingot for an Emerald.
- Weaponsmith: 10 Coal for an Emerald, 1 Iron Ingot for an Emerald, 16 Emeralds for a Bell, and 1 Emerald for an Enchanted Axe or Sword.
And the best thing is that you can cure a Zombie Villager more than once, and each time you do it, his trades get even better!
How to Cure a Zombie Villager
After we went through everything about where to find them and why you should heal them, it’s time to learn how to cure a Zombie Villager.
Step #1: Preparation
To cure a Zombie Villager, you’ll need to have a Splash Potion of Weakness and a Golden Apple. Make sure they’re both on your hot bar.
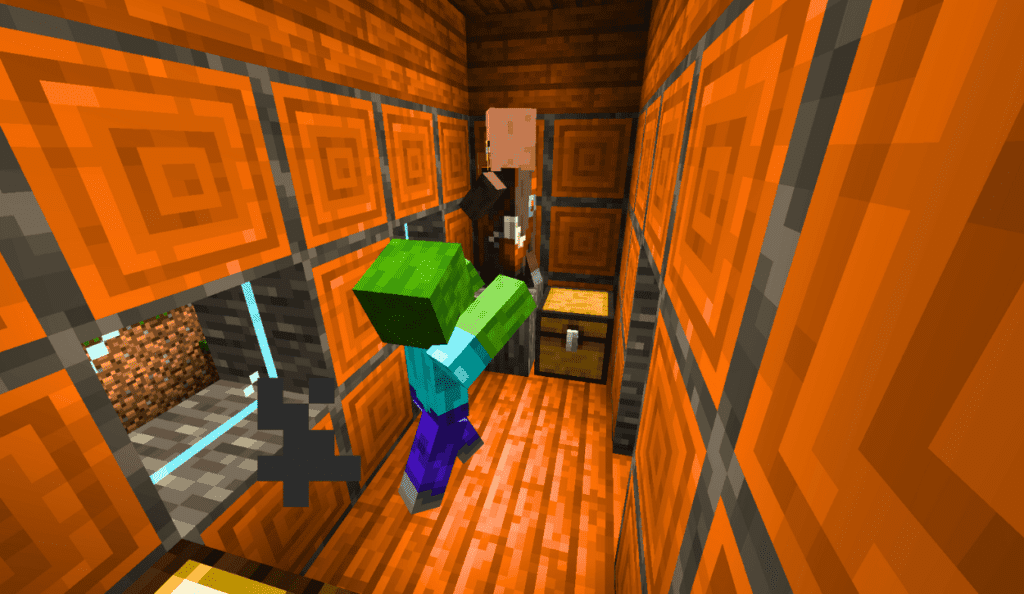
Step #2: Find The Zombie Villager and Trap it
Prepare a place where the Zombie Villager can’t escape or stand below the sky but is easy enough to transfer to your trading hall once it’s cured.
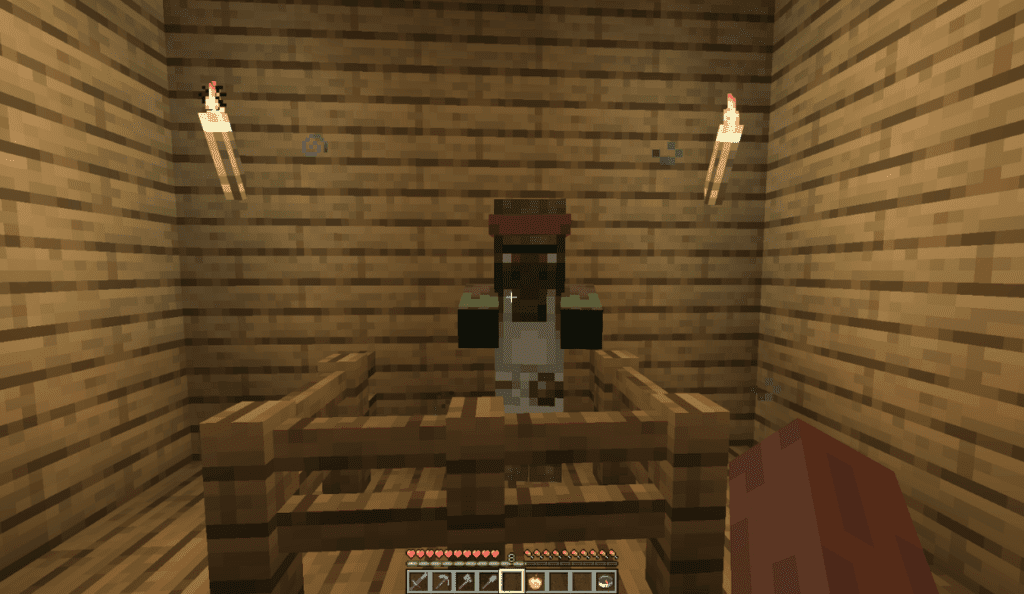
Step #3: Throw a Splash Potion of Weakness
Once he is trapped, throw a Splash Potion of Weakness at him. Alternatively, you can use a Lingering Potion of Weakness or shoot him with a Weakness Arrow with a weak bow so he won’t die.
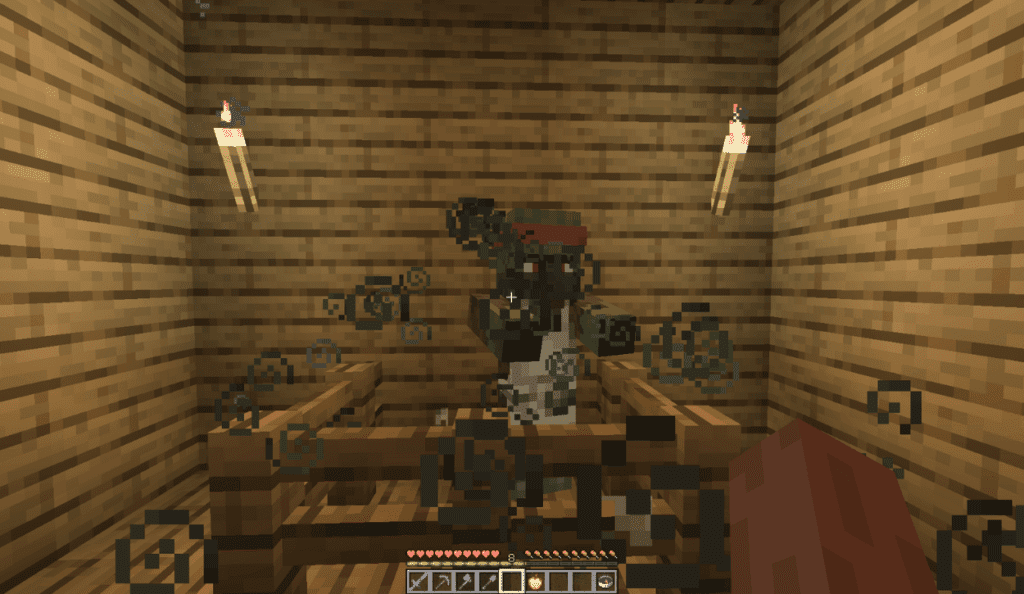
Step #4: Feed The Zombie Villager a Golden Apple
Once you see the grey particle effect, feed him a Golden Apple. As soon as you do that, you’ll head a sound the is something between a thunder and cracking wood, and the particles will change color to yellow.
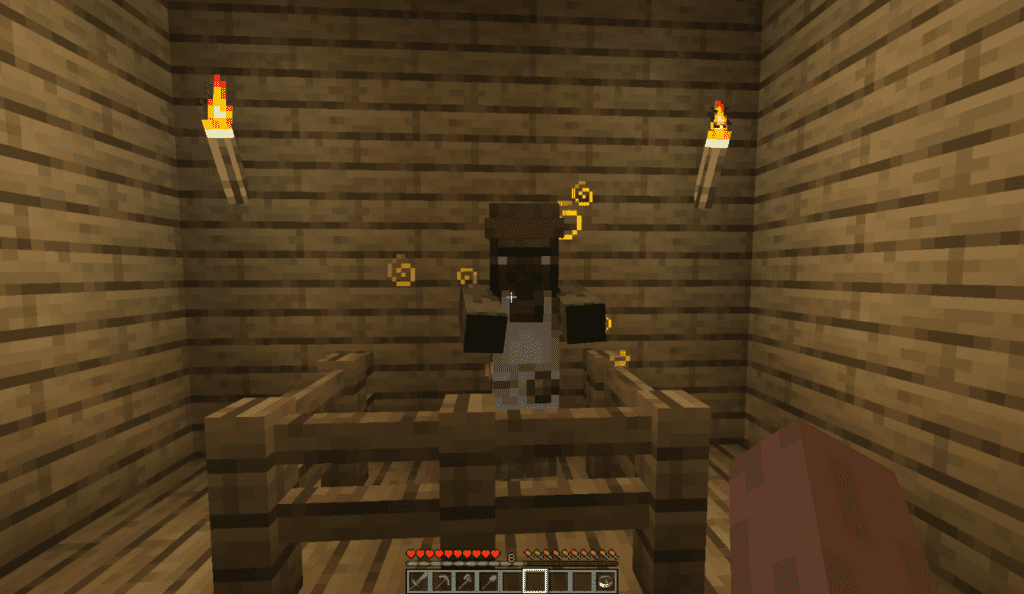
Step #5: Wait A Couple of Minutes
It can take the Zombie Villager up to 5 minutes to cure, usually around 3-4 minutes. During that time, the weakness effect is replaced with strength, so you want to keep your distance from him.
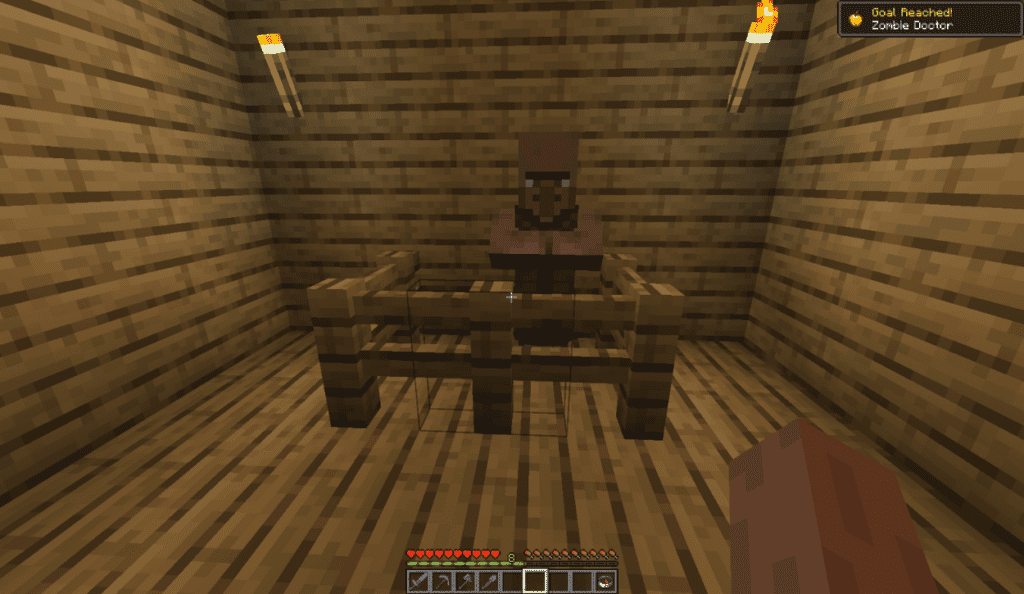
Voila – That’s It, You’re a Zombie Doctor
Finishing Thoughts
Now that you know how to cure a Zombie Villager, it’s time to build your OP trading hall. Just don’t forget to add yourself a way to zombify your Villagers over and over again so you can improve their trades even further.
If you have questions, feel free to post them in the comment section below. See you next time!